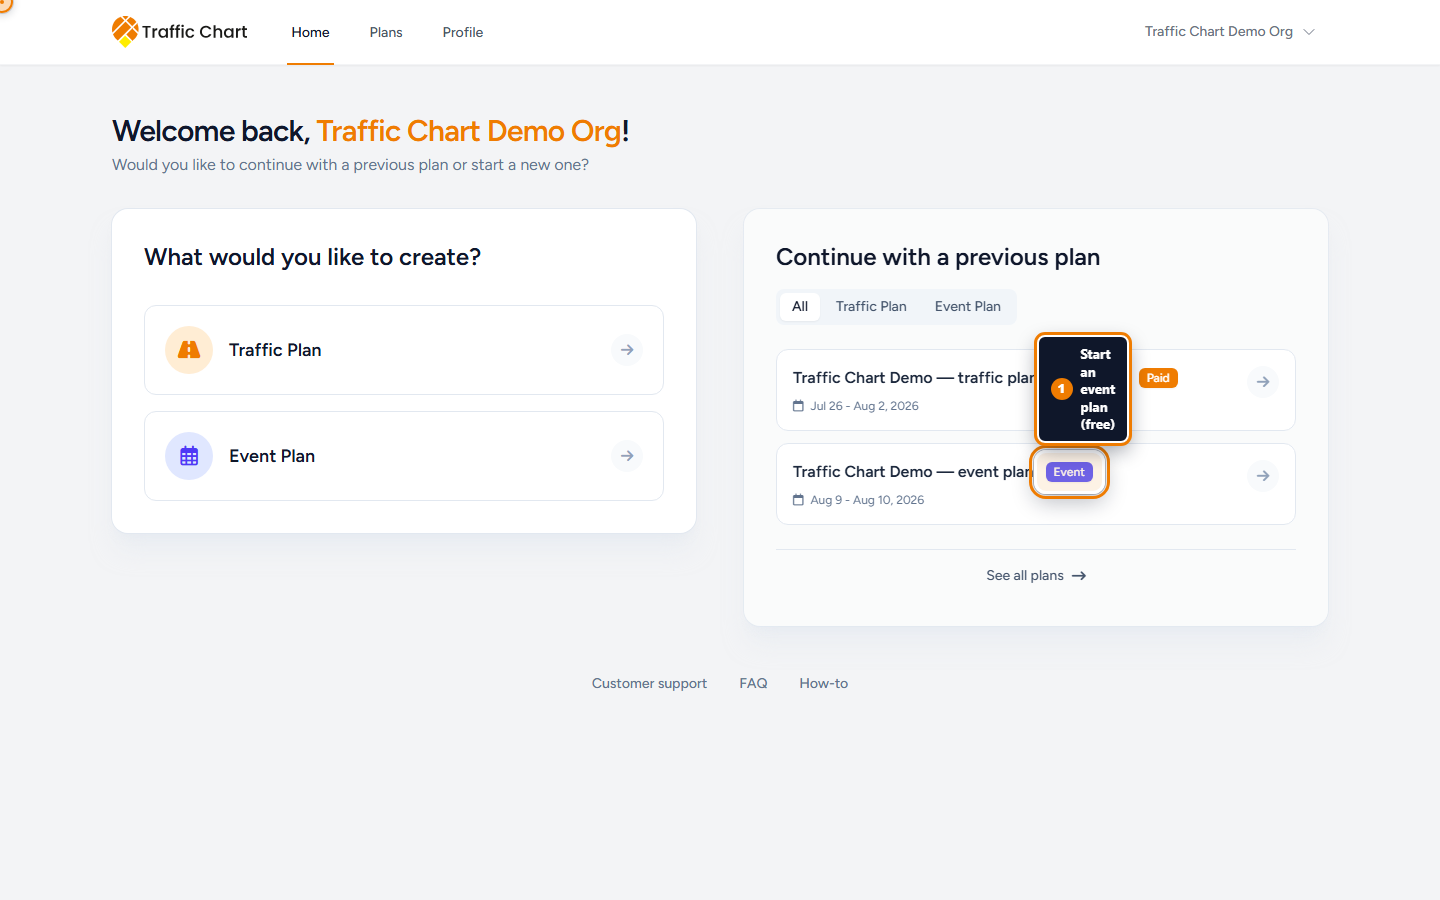
motion — same clip as library create path
From an empty account to something useful on the map. If you only need one type of plan, skip the other half.
Before you start
- Use a current desktop Chrome, Edge, or Firefox.
- Know whether you need road signs (Traffic Plan) or a site layout (Event Plan) — or both.
- Check Switch workspace. A new plan is created in the workspace you are in now (Personal, or an organization such as Acme Events).
Your first traffic plan
1. Create it
On Home, under What would you like to create?, choose Traffic Plan. From Plans, Create plan opens the same form.
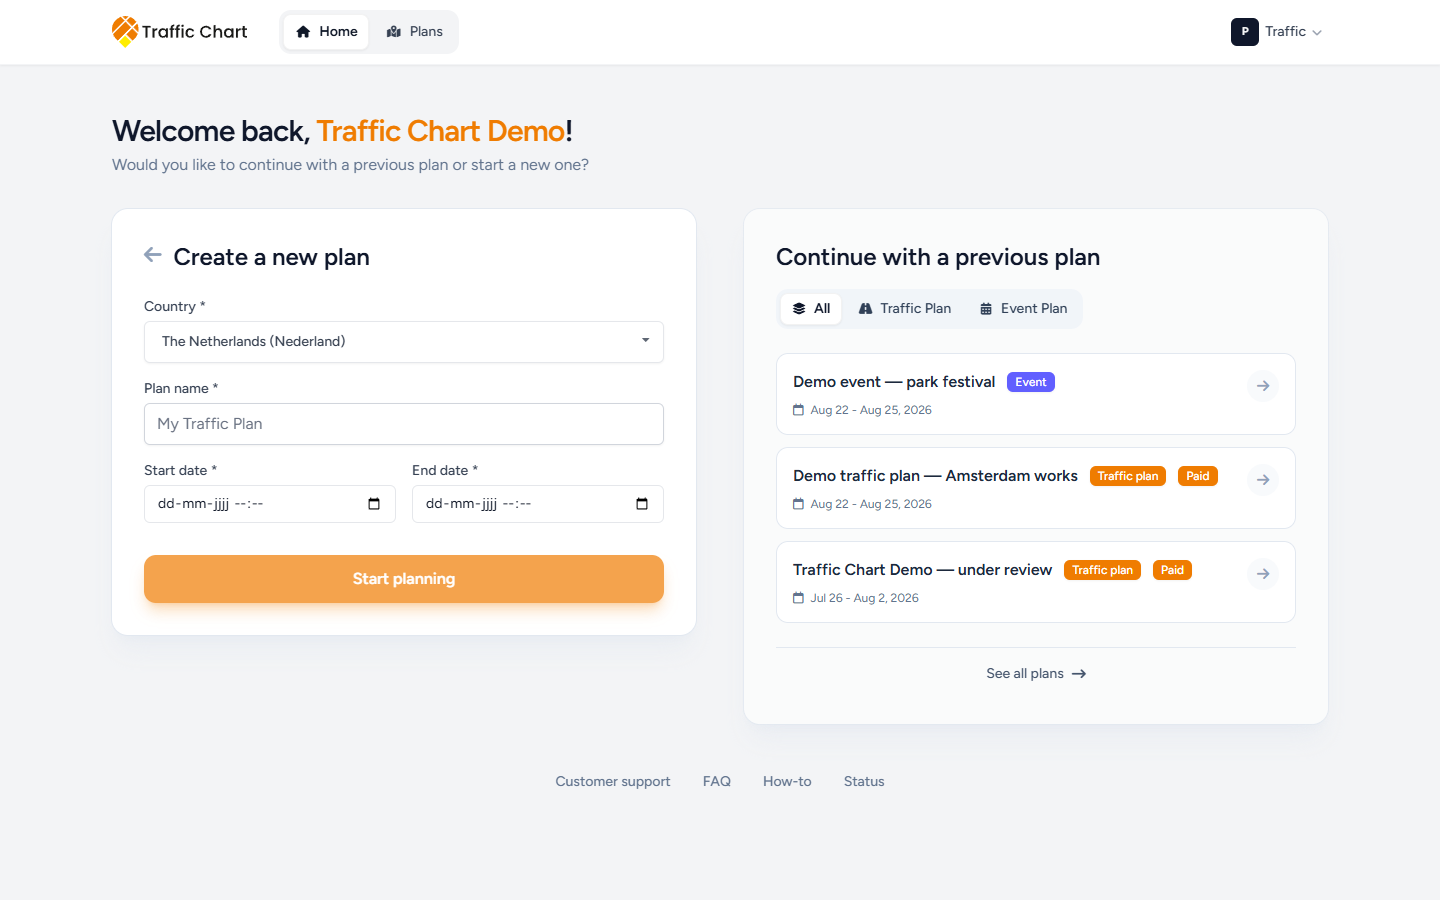
- Set Country * — this loads the correct sign catalogue. Pick the country of the works, not your billing country.
- Enter Plan name * (placeholder My Traffic Plan). A useful pattern is site + place + year.
- Set Start date * and End date *. Complete both the date and the time. Start must be before end. Incomplete time shows Complete the start date with a time. (or the end-date equivalent).
- Click Start planning.
The editor opens full-screen. Wait until Opening Map Environment... is gone and the basemap tiles are visible. Do not place signs on a white map.
Older plans that never got a country or dates may show Continue your traffic plan and block the editor until you finish those fields.
2. Find the location
- Click Search address on the left.
- Type a street or place in Type to search address.
- Press Enter (or pick a suggestion when shown).
- Zoom in until placing a sign feels precise.
If results are thin, try a fuller address. Confirm Country matches the area you are searching. Zoom, scale, and search in more detail: Search address, zoom, and scale.
3. Place a few signs
- Open Traffic Objects → Signs.
- Confirm the country name at the top of the panel.
- Type in Search traffic signs, or open a category such as Most used, Speed, Roadwork, or Events.
- Click a sign, then click the map.
- The selected stack shows Move sign, Rotate sign, Duplicate sign, Remove signs, and (when allowed) Displace sign stack / Edit sign.
On the free tier you can place a limited number of signs (currently 5 that count) outside participating municipalities. If the next click is blocked, follow the dialog — do not start a second payment. I can’t place more signs.
4. Optional sketch
Use Add line, Add rectangle, Add circle, Add shape, or Add text for a detour hint or work area. Pick Select color first if you care which colour the next drawing uses.
5. Save
Watch Auto-save. Hover for Auto-save: saving, Auto-save: unsaved changes, or Auto-save: saved. If auto-save is off, click Save. Wait until it is saved before you send a link. Title, dates, and the save preference: Auto-save, title, and dates.
6. Share or export
Click Export.
- Sharable link is marked RECOMMENDED. Copy. Many municipalities prefer a live link.
- Export files is for PDF (and Excel on some accounts). You must draw at least one export map first. Export and print traffic plans.
Create plan on the Plans library starts this same create form.
Your first event plan
Event plans do not use traffic-sign credits. Your workspace must have Event plans enabled. If Plans → Event plans says Not enabled for Personal. (or Not enabled for Acme Events.), you cannot create one here. Workspace unavailable.
- On Home, choose Event Plan. Or Plans → Event plans → New Event Plan.
- Enter Event Name (placeholder Enter the name of your event).
- Enter Location (city, venue, or address text).
- Set start and end date/time. End must be after start.
- Click Start event planning.
- Wait for the map.
- Open Objects, pick a type, click the map. If you see Map is not ready yet, wait.
- Open Areas, choose Polygon, Rectangle, or Circle, draw a zone, set Area Type (for example Camping or Restricted Zone).
- Open Lines & Routes for a Pedestrian Route or Emergency Route.
- Labels: click the map tool Add text (it is not a sidebar tab), then click the map and type.
- Wait for Save / Auto-save.
- Optional PDF: Export, draw an export area, choose paper size, Export PDF.
Full drawing detail: Event objects, areas, and routes.
When you need both
Road signs on public roads belong on a Traffic Plan. Tents, fences, and visitor flows belong on an Event Plan. Municipalities often want both links.
Tips that save a second visit
- Fill dates on a traffic plan even if you are “just sketching”. Show Melvin stays disabled until dates are set: Fill in a date to use this option.
- Prefer a share link for review. Use PDF when a file is required.
- In an organization, the person who created the plan is the assigned editor. Colleagues can open it read-only until an Owner or Administrator uses Assign editor.
- Find a plan later on Plans — folders, search, and the table: Folders and the library.
- If Signs has no match, Request Item (24h) at the bottom of the catalogue. Request a missing item.
- Do not duplicate a plan to “get around” a review lock. You lose the dossier history.
If this is your first session after Create your account, start with First login and onboarding.
If something blocks you
| Situation | Where to go |
|---|---|
| Cannot place more traffic signs | I can’t place more signs |
| Export fails or the PDF is white | Export fails or is blank |
| Plan will not edit | I can’t open or edit a plan |
| Plan not in the list | My plan does not appear in the list |
| Map never appears | Map will not load or stays blank |