
Settings is where you keep identity, language, branding, and security in order. Open it from the account menu (your initials and first name) while logged in. The page title is Settings.
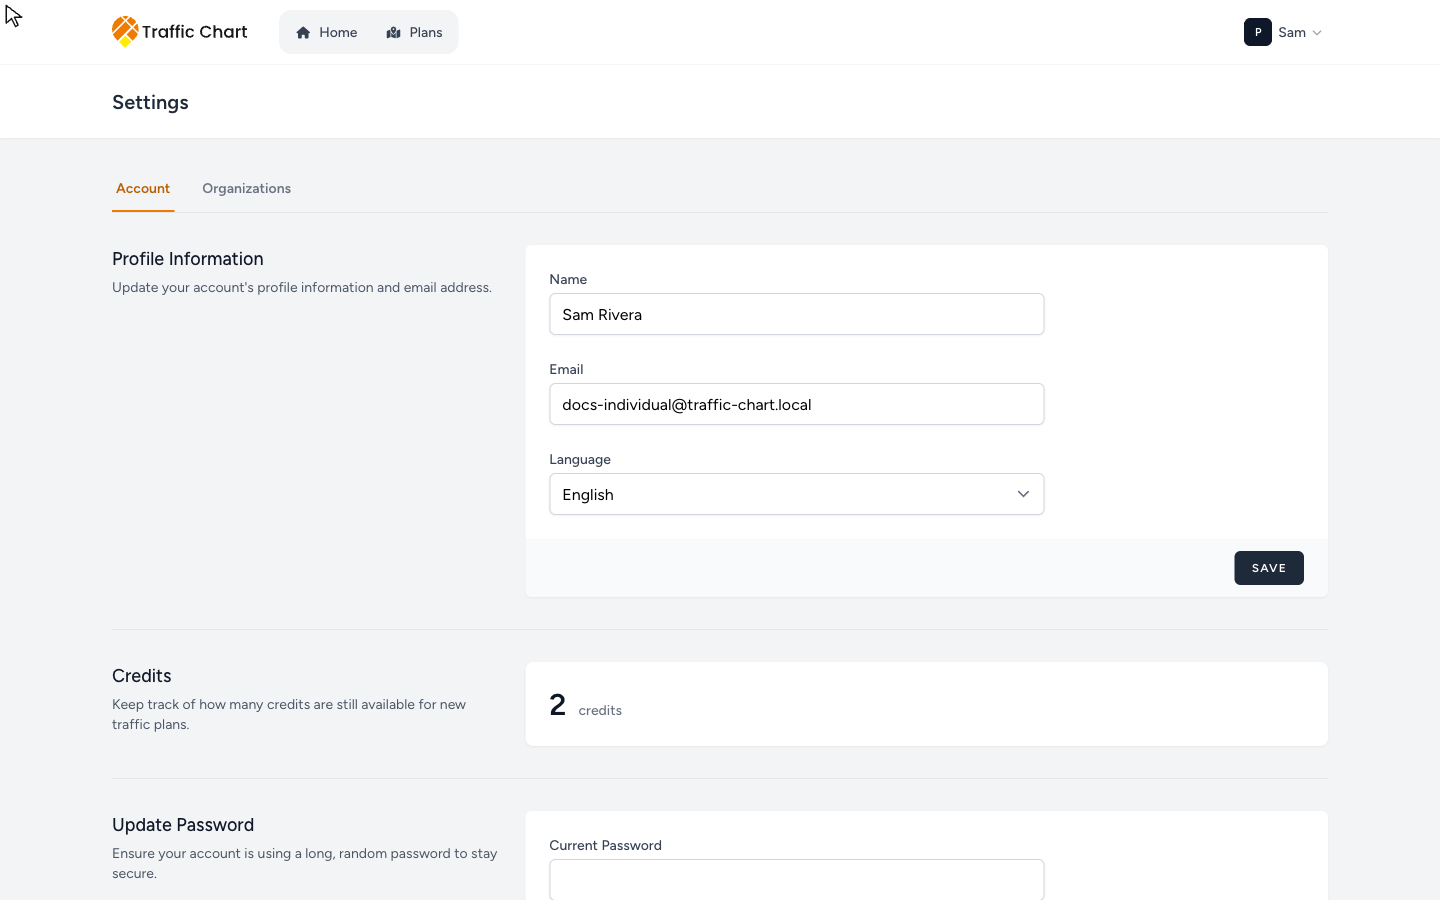
Settings has two tabs: Account (this page) and Organizations. Team members, invitations, and org billing live under Organizations — Organizations and members. If you are not in a team, Organizations can look disabled: You are not a member of an organization.
Signup and first login: Set up your account and find help and First login and onboarding. Stuck on a verification mail: Email verification and login problems.
Work top to bottom. Sections you are not allowed to use are hidden, not greyed out.
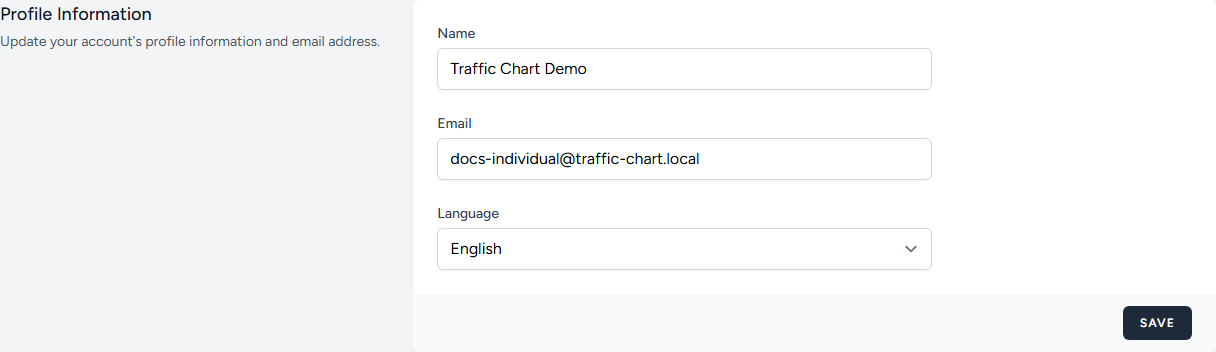
Profile Information
Title: Profile Information. Description: Update your account's profile information and email address.
Photo
Label: Photo. Select a new photo opens the file picker. A round preview replaces the current image. Remove photo appears once a photo is stored.
Name and Email
Name and Email are required.
If the address is unverified: Your email address is unverified. Then Click here to re-send the verification email. After you click: A new verification link has been sent to your email address.
Changing Email means you must verify the new one before invitations and some billing mail will treat it as yours. Organization invites are locked to the invited inbox — Join an organization.
Language
Language: English, Nederlands, Deutsch, Français.
Save. Success: Saved.
If the language pack fails to load: We could not switch the application language. Your preference was saved, but the interface will stay in the previous language. Refresh. This help center is English for now.
Credits
Shown only on some personal-style accounts. Hidden on purpose for some organisation-role and admin accounts.
Title: Credits. Description: Keep track of how many credits are still available for new traffic plans. The large number is the balance; the word is credit or credits.
This is your personal pool. Organization credits for Acme Events are not managed here. Spending and buying: Billing, free use, and credits and Pay or spend a credit.
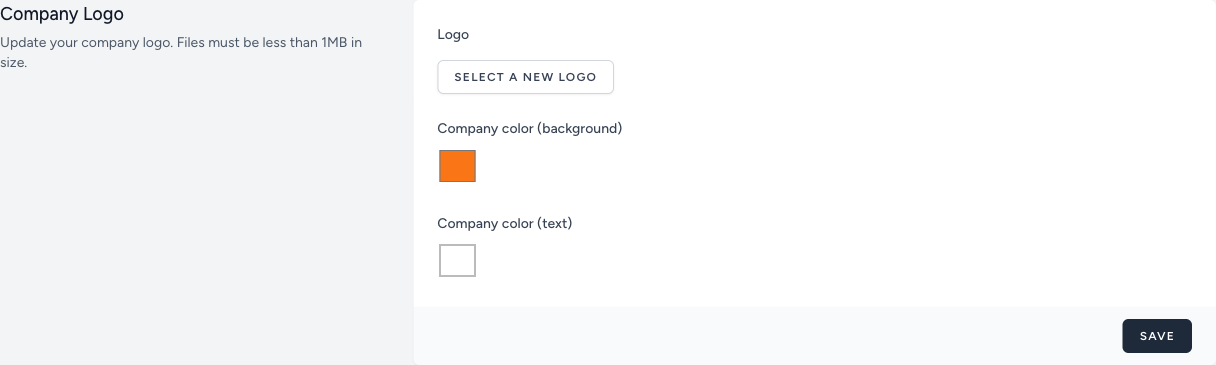
Company Logo
Shown for organisation-style accounts (and admins). Hidden for a typical personal organiser.
Title: Company Logo. Description: Update your company logo. Files must be less than 1MB in size.
- Logo — Select A New Logo. Preview Current Logo / New Logo.
- If the file is too big: The logo must not be larger than 1MB. Pick another file.
- Company color (background) and Company color (text) — colour pickers used on presentation and exports.
- Save, or Remove Logo if one is stored.
Logos can appear on plan presentation and exports. They do not change who owns Demo traffic plan.
Update Password
Title: Update Password. Description: Ensure your account is using a long, random password to stay secure.
Fields: Current Password, New Password, Confirm Password. Save → Saved.
If login still fails after a change, use Forgot your password? on Log in.
Passkeys
Title: Passkeys. Description: Sign in with your fingerprint, face, or device PIN instead of a password.
Browser does not support passkeys
The whole section collapses to one sentence: Your browser does not support passkeys.
Use Password, and turn on Two Factor Authentication if you can. Try a current desktop Chrome, Edge, or Safari if you expected passkeys to appear. There is no “force enable” control.
Browser supports passkeys
Heading is either You have not set up any passkeys yet. or You have passkeys enabled.
Instructions: When a passkey is set up, you can sign in by verifying your identity with your device using your fingerprint, face, or PIN. No password needed.
Add passkey reveals:
- Device name — placeholder e.g. MacBook Pro, iPhone 15. The app guesses a name (Windows PC, Mac, iPhone, …). Rename it to something you will recognise.
- Register passkey — first Confirm Password (For your security, please confirm your password to continue., field Password, Confirm / Cancel), then the browser passkey prompt.
- Cancel closes the add form.
Each stored passkey shows the name, Added on 21 August 2026, then Last used 21 August 2026 or Never used. Remove (password confirm again) deletes that device.
Errors you may see:
- This device is already registered as a passkey.
- Passkey registration was cancelled.
- Something went wrong registering your passkey.
On Log in, Sign in with passkey appears once at least one passkey exists. If it fails: Could not sign in with passkey. Please try again or use your password.
On a shared computer, do not add a passkey you do not control. Remove it from Settings before you leave.
Two Factor Authentication
Title: Two Factor Authentication. Description: Add additional security to your account using two factor authentication.
Status headings:
- You have not enabled two factor authentication.
- Finish enabling two factor authentication.
- You have enabled two factor authentication.
Instructions: When two factor authentication is enabled, you will be prompted for a secure, random token during authentication. You may retrieve this token from your phone's Google Authenticator application. Any TOTP app that can scan a QR code works.
Sensitive buttons first open Confirm Password.
Enable
- Enable. Confirm your password.
- Scan the QR code. Confirming copy: To finish enabling two factor authentication, scan the following QR code using your phone's authenticator application or enter the setup key and provide the generated OTP code.
- Setup Key: is shown next to the QR if you cannot scan.
- Field Code — the one-time password from the app.
- Confirm.
Cancel during this finishing step turns 2FA back off.
When 2FA is already on and you display the QR again: Two factor authentication is now enabled. Scan the following QR code using your phone's authenticator application or enter the setup key.
Recovery codes (do this immediately)
As soon as 2FA is on, the page shows:
Store these recovery codes in a secure password manager. They can be used to recover access to your account if your two factor authentication device is lost.
Under that is a list of one-time codes. Copy them before you close Settings. Store them offline as well as in the password manager. Each code works once.
Later:
- Show Recovery Codes — password confirm, then the list again (when the list is hidden).
- Regenerate Recovery Codes — password confirm, then a new list. Old codes stop working the moment new ones appear. Update the password manager in the same sitting.
If you lose the phone and the codes, support cannot read the old codes back. You will be locked out.
Disable
Disable (danger button) with password confirm. Status returns to You have not enabled two factor authentication.
At login
Browser title Two-factor Confirmation.
- Authenticator: Please confirm access to your account by entering the authentication code provided by your authenticator application. Submit Log in.
- Use a recovery code switches to Please confirm access to your account by entering one of your emergency recovery codes. Field Recovery Code.
- Use an authentication code switches back.
If codes are rejected, check the phone clock (time drift) and try the next recovery code. Do not generate new recovery codes from a second device until you can reach Settings.
Browser Sessions
Title: Browser Sessions. Description: Manage and log out your active sessions on other browsers and devices.
Summary: If necessary, you may log out of all of your other browser sessions across all of your devices. Some of your recent sessions are listed below; however, this list may not be exhaustive. If you feel your account has been compromised, you should also update your password.
Each row shows platform and browser (or Unknown), the IP address, and either This device or Last active 1 hour ago (the relative time the app prints).
Log Out Other Browser Sessions
The button opens a modal with the same title Log Out Other Browser Sessions.
Body: Please enter your password to confirm you would like to log out of your other browser sessions across all of your devices.
Field placeholder: Password. Footer: Cancel, or Log Out Other Browser Sessions again to confirm.
Success next to the button: Done. This device stays signed in. Other listed sessions die. Use this after a shared computer, or if you see a platform you do not own.
Then Update Password if the account may have been misused.
Delete Account
Title: Delete Account. Description: Permanently delete your account.
Warning: Once your account is deleted, all of its resources and data will be permanently deleted. Before deleting your account, please download any data or information that you wish to retain.
Delete Account opens the modal. Title Delete Account. Body: Are you sure you want to delete your account? Once your account is deleted, all of its resources and data will be permanently deleted. Please enter your password to confirm you would like to permanently delete your account. Placeholder Password. Cancel or Delete Account.
Export PDFs of Demo traffic plan (and anything else you need) first. Organization-owned plans stay with Acme Events; they are not yours to take home. The last Protected owner cannot dump the team by deleting their login until another owner exists.
Security habits that actually help
- Turn on Two Factor Authentication, store recovery codes, then add a Passkey on a device you own.
- Log Out Other Browser Sessions after a public PC.
- Do not register a passkey on a device you will hand back.
- If Your browser does not support passkeys., do not assume 2FA is on — enable it separately.
- Keep Email verified. Unverified addresses block Accept invitation and some mail.
Workspace history for owners and administrators is Activity on the organization, not this Account tab. Organization activity.